
Californo Blog — pizza oven
Make Your Own Low-Sodium Pizza
Delicious and Healthy Alternative Italian Favorite
The basics of a pizza are fairly simple, and generally are healthful ingredients. There's the crust, the sauce, the meat, the cheese, and the seasonings. That's where the "basics" end and the creative juices can begin flowing.
While you may have given up a weekly visit to Pizza Hut, California Pizza, Sbarro's, or Domino's, it is not the end of the world. You can put together a heart-healthy and fantastic tasting pizza that has half the sodium of the average cheese (no meat) pizza at any of these pizza parlors - and this recipe includes meat!
The Basic Pizza Ingredients and Their Sodium Content
- Pizza Shell (one medium pizza for two people) - look for Mama Mary's which has 186 mgs of sodium for 1/4 of 10" crust. The average of other brands (i.e. Boboli) for 1/5 of crust (one slice) averages 330 mg of sodium.
- Pizza-style tomato sauce – Ragu's Pizza Sauce Homestyle has 260 mgs per 2.2 oz serving (compared to their Pizza Quick Traditional which has 380 mgs). Other brands may go as high as 780 to 800 mgs. of sodium.
- Olive oil (extra-virgin) or canola oil - zero milligrams of sodium
Meat Toppings
- Ground Beef – 90% lean, 85 mg sodium per 3 oz serving
- Chicken – thigh meat, skinless, broiled, 46 mgs per thigh; white meat 3 oz. broiled, skinless, 64 mgs per serving
- Italian sweet sausage – Perdue turkey sausage, grilled, 490 mgs per 3 oz serving (regular Italian sweet sausage may have up to 900 mgs per 3 oz serving.)
- Pepperoni – hard to find a "low-sodium" brand, but Wegman's Italian Classic deli Italian sausage is 480 mgs per 1 oz. serving. Use very sparingly, if you must!
Fruit and Vegetable Toppings
- Onions - 0
- Fresh tomatoes – 1 mg per thin small slice (.5 oz)
- Mushrooms - 0
- Artichoke hearts – 1/2 cup boiled, drained, no salt added, 80 mgs sodium
- Pineapple - 0
- Fresh basil - 0
- Fresh spinach – 8 mg
- Pesto – 1/4 cup, 720 mgs (may vary by brand, but is very salty.)
- Pine nuts - 0
Cheeses
- Provolone – Sargento, regular, full-fat, 1 slice (.7 oz) – 125 mgs sodium (reduced fat is 140 mgs) Alpine Lace Reduced Fat & Sodium – 190 mgs. (per 1 oz); shredded – Sargento Aged 1/4 cup – 240 mgs.
- Mozzarella – fresh, 1 oz balls, 20 mgs. Kraft Natural Shredded, 2% Milkfat, 200mgs per 1 oz. Most part-skim mozzarella is between 175 and 200 mgs per oz.
- Swiss Cheese – 1 oz. slice, 54 mgs; shredded, 1 cup (3.8 oz) 207 mgs
- Parmesan – 1 tablespoon grated, 76 mgs (.2oz)
Toppings to be Avoided
- Anchovies
- Capers
- Cheddar Cheese
- Shaved Parmesan
- Hot Italian sausage
- deli meats like ham, bologna, salami, bacon
Recipe for Home-Made Low-Sodium Pizza
Prepare your pizza oven.
- Use one 10" shell, brushed with 1 tablespoon of extra virgin olive oil. Spread half of a jar of pizza sauce (7 oz.) over entire crust.
- Slice fresh tomato thinly, approximately eight slices, and place four on each half/side of pizza. (Two per slice).
- Slice the onion thinly, and separate the ring sections individually; place around pizza evenly.
- Brown 1/3 pound (approx. 6 oz) hamburger, (or use one cooked chicken thigh or 1/2 cooked chicken breast, skinless). Drain and distribute the finely-broken up ground beef around the pizza surface.
- Top with broken-up pieces of one slice of provolone, 1/2 cup Swiss cheese, or 1 oz fresh mozzarella. A combination of any of these is okay if you are careful to measure and take into account all amounts of sodium.
- Pineapple chunks, mushrooms, fresh basil leaves, and Italian spices such as oregano, basil, and black pepper, may be added to taste.
Grill the pizza directly on the oven rack placed in the center of the oven. Set the temperature according to directions on the package (start at 450 degrees, to preheat the oven, turn down to 425 and cook for 7-10 minutes.) Cut into 6 slices, 2 slices per serving. Serves 2-3.
Sodium totals will vary depending on the toppings you choose. The basic combination of sauce, olive oil, ground beef, tomato, onion, and Swiss cheese will be approximately 1100 mgs of sodium for 2 slices. If your diet restricts you to 2000 mgs daily or less, this is the amount in half a day's allowance. A half of a cheese pizza (no meat) at a pizza fast-food chain averages 2100 mgs of sodium.
The pleasure in making your own low-sodium pizza is in the variety of toppings you can add to add interest to your diet, while being in control of your sodium intake. You don't have to deny yourself the yumminess of "real" pizza!
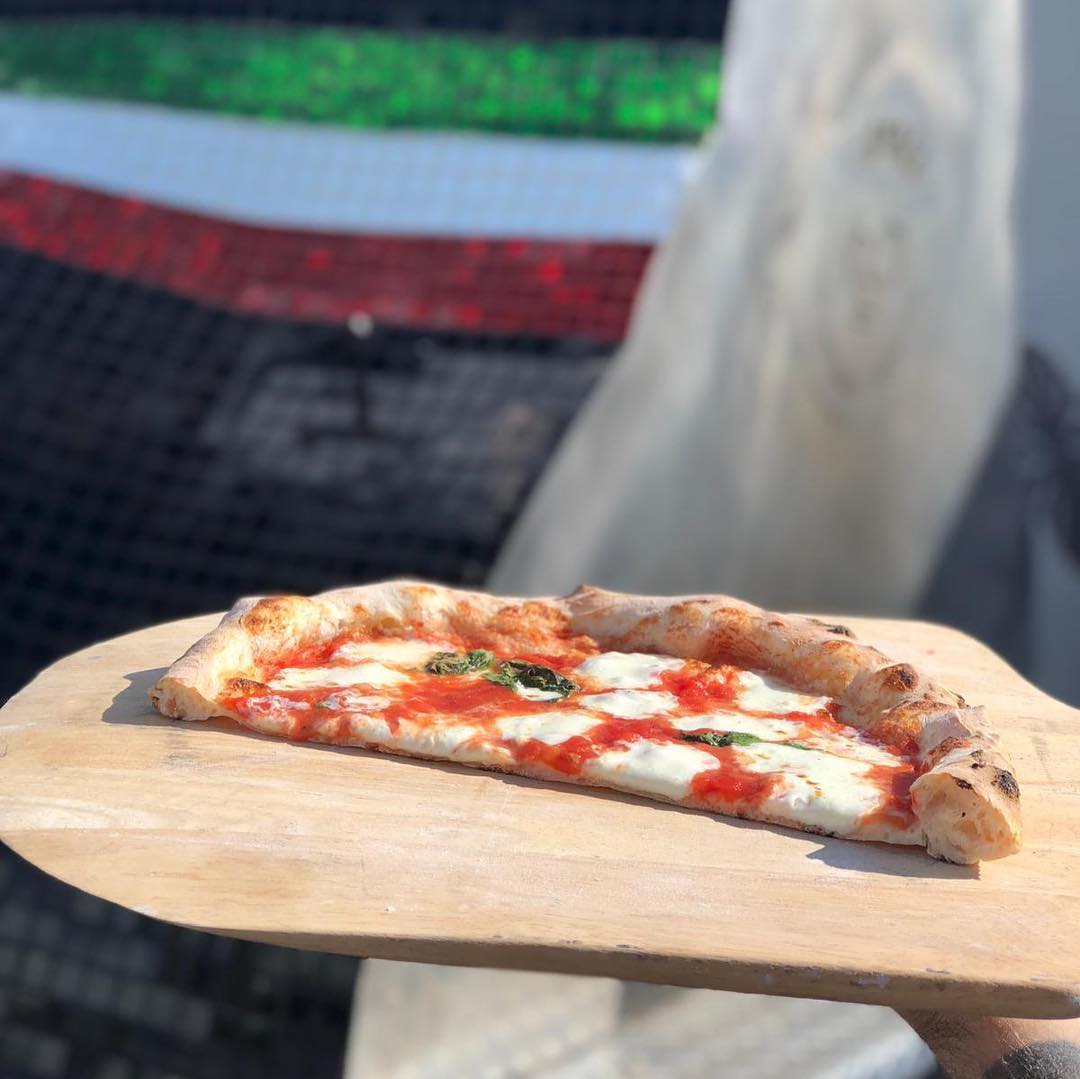
Preparing a Home Made Italian Pizza
Turning pizza dough into great tasting pizza is fairly easy to do. Whether you have bought the dough from a bakery, or made your own it doesn't take much more than some toppings, spaghetti sauce and a good pizza oven to make a delicious Italian pizza.
Ingredients
- Enough pizza dough for a medium pizza
- Toppings of your choice (pepperoni, sausage, olives, pineapple, etc)
- Spaghetti sauce (store bought or home made)
- Mozzarella Cheese
- Italian spices
Optional
- Parmesan Cheese
- Other cheeses
Directions
- Warm the dough to room temperature. Trying to roll out cold dough is difficult and time consuming.
- Preheat the oven to 250 degrees Celsius. If you are using a stone, preheat the oven well ahead of time and place the stone in at the very beginning to heat up. A cookie or pizza pan doesn't need to be pre-heated.
- If you want to make pizza at an outdoor family gathering or a friend’s party, you can always choose for using a mobile pizza oven. It is convenient and makes your pizza extremely tasty. Californo has some great options you can choose from.
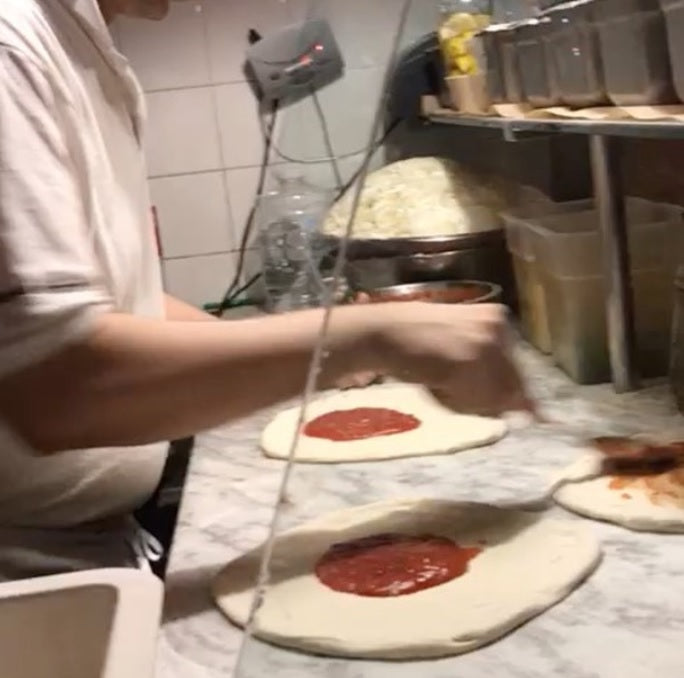
- Prepare the toppings. Make sure any sausage or raw vegetables are cut into small pieces to ensure they cook properly. Drain wet pizza toppings such as olives and pineapple to prevent a soggy pizza.
- If you are making your own spaghetti sauce, prepare it but do not cook it. It will cook in the oven. Store bought sauces can be used as is.
- On a well floured surface roll out the dough. Make sure it fits the pizza stone or pan. Make the dough an even thickness and use your fingers to round and slightly raise the edge to form the crust.
- A) If using a pizza stone, take the hot stone out of the oven and spread corn meal on it to prevent sticking. Quickly and very carefully place the dough on the stone. Some cooks will then pre-cook the crust, before placing the sauce, toppings, mozzarella cheese and Italian spices on the pizza. Others will quickly place the toppings on the crust and place it back in the oven. If you choose the second method try to have everything completed within 2 minutes, if it takes too long the pizza crust will cook unevenly.
- B) If you are using a pizza pan or cookie sheet, place the dough in the oiled pan and put the sauce, toppings, mozzarella cheese and Italian spices on the uncooked crust. You can take your time while doing this.
- Put the pizza in the oven. After 7 minutes check the pizza, the crust should be firm, and if the toppings are already on the pizza the cheese should be melted. After another 1 to 2 minutes the cheese should be lightly browned, take it out when this happens.If you precooked the pizza crust, take the crust out at 5 or 6 minutes when it is slightly hardened and add the sauce, pizza toppings and spices and place it back in the oven. Cook it for another 5 to 6 minutes. Make sure any raw meat is extra small to ensure it will be entirely cooked.
- Once the Italian pizza is out of the oven let it cool for 5 minutes and then remove it from the pan or stone. If it sticks to the pan use a spatula to gently pry it off, and next time use more cornmeal or oil to prevent sticking.
- Cut the pizza into sizes of your preference and enjoy.
Important: Do not overload the pizza. Too much sauce or wet toppings can make your pizza soggy.
The entire cooking process should take approximately one hour with a pizza stone and half an hour for a regular pizza pan. As long as the Italian pizza isn't under or over cooked it will be ready to eat as soon as it cools down, and then Parmesan cheese, Tabasco sauce or other seasonings can be added to this delicious pizza.
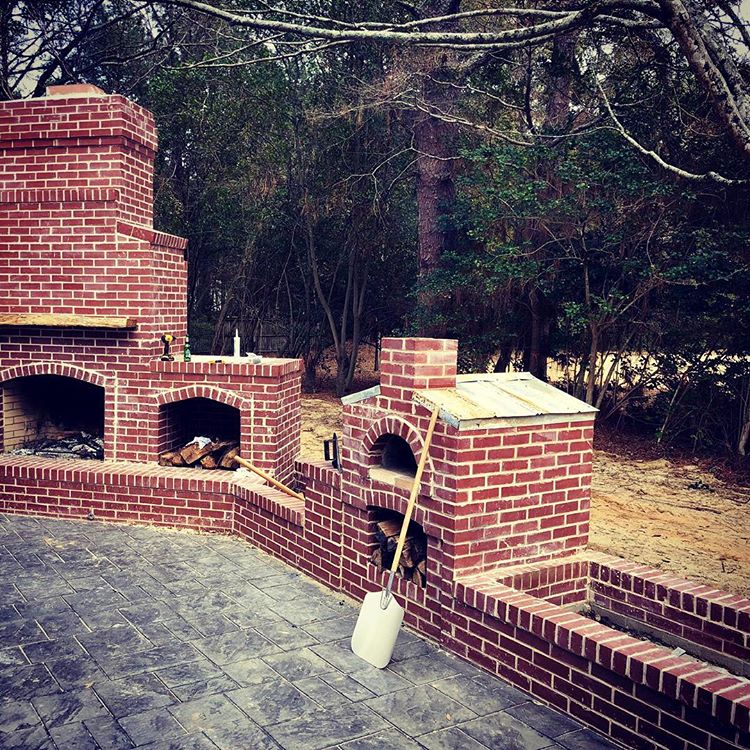
A Guide for Hosting an Outdoor Pizza Party in the Winter

There is something undeniably romantic about cooking outdoors over a burning fire. Generally, we have an outdoor party in the summer. But there is no reason you can’t have a great outdoor party, even when it’s snowing. Even when temperatures drop below freezing, cooking outside by your wood fired oven offers a more interactive cooking experience. In many ways, it’s like having dinner with a show!
Here are some tips for hosting an outdoor party in the winter.
Use Your Wood Fired Oven But Keep the Meals Simple

Choose meals that go well with slow cooking. In fact, the longer and slower the better. One of the great advantages of a wood fired oven is that it’s easy to maintain heat for hours of slow cooking. That means you can cook a variety of foods, from brisket to sourdough breads. You can also add wood chips to enhance flavor. It’s also a good idea to cook some sides, such as roasted potatoes, cauliflower, and mushrooms, for a more satisfying meal.
Keep the Drinks Simple, Too
There is nothing better than a glass of warm mulled cider, or a dark spirit by the fire. Not only are these drinks easy to serve, they are also a great source of warmth!
Look to Street Food for Inspiration
Oven roasted chestnuts are a cold weather delicacy in most of Europe and Asia. And there is no better way to roast chestnuts than in a wood fired oven.
Start by cutting a small x on the underside of your chestnuts, using a sharp knife. Then, place the chestnuts on a pizza pan, and put them in your wood fired oven. Cook for 7-8 minutes at about 500°F. Depending on the age of the chestnuts, you might need to cook them for longer. You will know when they’re done because the skill and shells will pop open and curl back. Once they have cooled to the touch, peel and enjoy!
Make Sure Your Guests Don’t Freeze
Everyone loves feeling cozy, especially in the winter. Stock up on quality wool blankets, so your guests can drape themselves in soft, fuzzy warmth by the candlelight. You should also make sure you’re not making your guests sit on freezing metal furniture by bringing in some cushions from indoors. Alternatively, you can also provide your guests with Lava Buns, which can be microwaved to stay warm for up to 6 hours. But overall, fire is still the number one way to stay warm. After all, your wood fired oven is sure to be the centerpiece of your winter patio.
Keep the Lights On
Days are short during the winter. So it might be a good idea to start your party in the early afternoon. Otherwise, make sure that the way to your party is lit. Lanterns and fairy lights are great for this.
Make Sure the Kids Don’t Get Bored
Snow is entertaining. So encourage any kids in your outdoor party to create snow angels, snowmen, and snow forts. You can even create an obstacle course out of the snow to keep children and adults entertained. If you don’t have enough snow in your area for that, you can also keep lawn games handy.
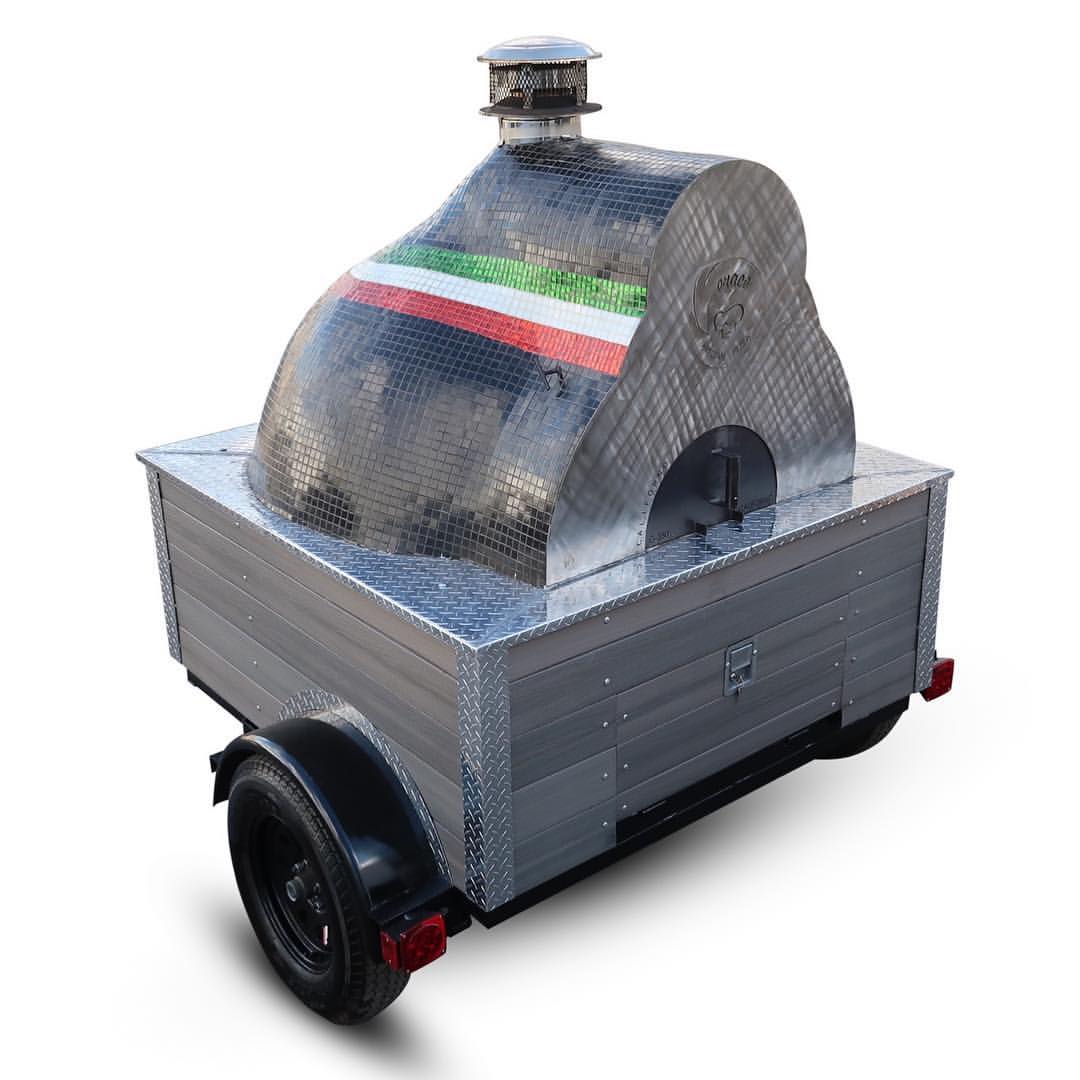
Great Business Ideas for Your New Pizza Oven Trailer
The all-American love for pizza just keeps growing. In fact, 1 in 8 Americans eat pizza daily. That’s great news for the nation’s pizzerias. So for those of you who want to get into the pizza business, here are some great pizza business ideas for your pizza oven trailer.
Checklist for a Successful Mobile Pizza Oven Catering Business
If you want to work when you want, and be your own boss, then a pizza oven catering business can provide the independent lifestyle you’re craving. It is a great business opportunity for any entrepreneur who is driven to make a profit.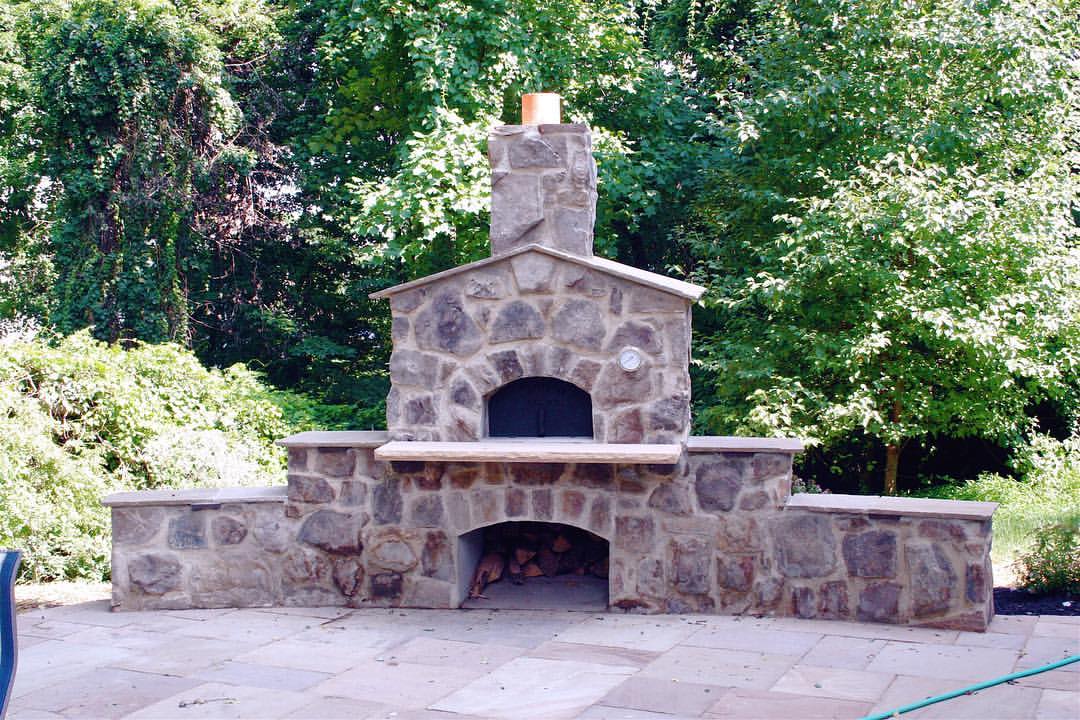
Pro Tips for Using Your Outdoor Wood Fired Pizza Oven
Cooking outdoors is definitely one of the best things about having a wood fired pizza oven. However, if you want to get the most out of your outdoor cooking experience, it’s good to know a few tips.